Self Study 2 - Modelling and Animation
This week we were tasked with creating a simple human model and animating it. To animate in Blender and Unity, a model requires a skeleton consisting of 'bones' that deform the mesh of the model, so that the animator doesn't have to manipulate each change manually.
The modelling aspect was nothing I was stranger to, I simply started with a cube and shaped it by adding loop cuts and extruding bits and pieces until i had something that would suffice for this task (usually I would make a couple sketches for different angles of the model before starting as a point of reference, but as I was already late when I started this task, I just freehanded it).
After this I placed all the necessary bones, but had trouble with how the 'weight' was distributed. To fix this I went through and weight painted all the problematic bones (a process that basically amounts to highlighting which bits of the model each bone should move) so that the model could be posed properly.
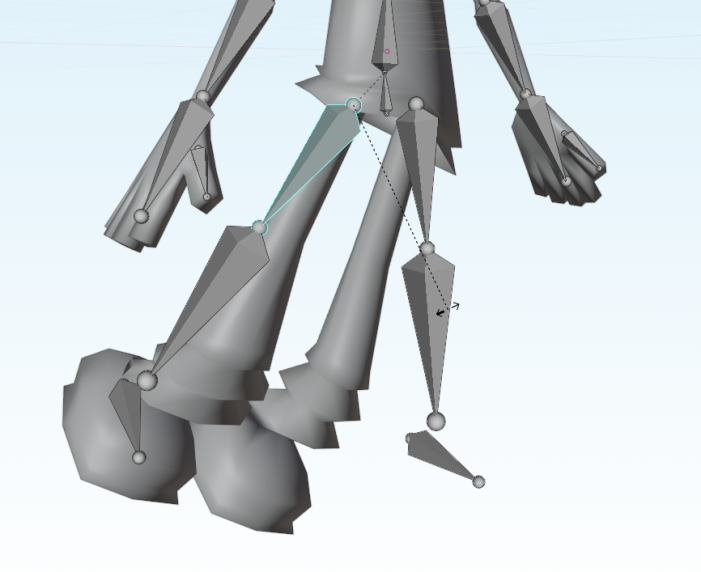
Before weight painting
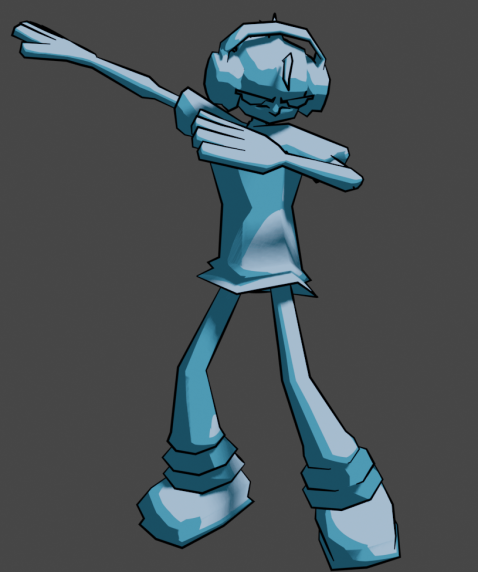
After weight painting (yes, I have an incredibly juvenile sense of humour)
From there I gave the model some simple textures and made a handful of animations (breathing, walking, 'waving') by moving the bones and saving their positions in 'keyframes', which Blender very cleverly transitions between. Thanks to this, the animation process was basically identifying a handful of essential poses for each animation and letting Blender fill the gaps for me. The walking one is pretty janky, but I managed to make it loop, and I mean, it works for now- I might go back and fix it later though.
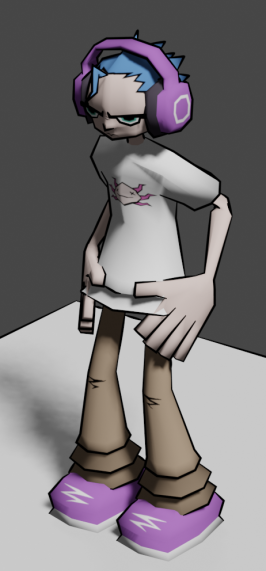
Now with distinguishable features!! (Don't mind the hands clipping into the shirt :P)
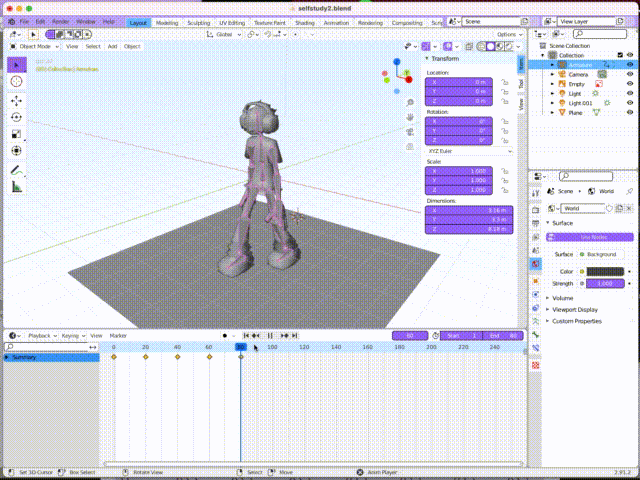
Walking animation - the bones are outlined in pink (sorry for this being the worst quality gif of all time- had to move heaven and hell to record a gif on a Mac lmao)
Leave a comment
Log in with itch.io to leave a comment.